
Install XRM Toolbox and Setup your first Connection
Learn how to install XRM Toolbox and setup your first connection to a Power Platform org.

What is XRM Toolbox?
XrmToolBox is a suite of tools that makes life significantly easier for individuals who work on anything built on Microsoft Dataverse, including Dynamics 365 Customer Engagement apps (formerly known as CRM).
Some of My Favorite Tools
- FetchXML Builder - easily query data and convert to various other formats
- Dataverse Rest Builder - generate code samples in various formats
- SQL 4 CDS - execute SQL statements against Dataverse
- Webresources Manager - view, modify, and publish JavaScript web resources
- Solution Components Mover - clone components from one solution to another
- Audit Center - easy to use interface to enable auditing as well as manage table and column level auditing
- Bulk Data Updater - apply updates to a dataset easily
- Data Transporter - easily copy records between environments and retain GUIDs
- Document Templates Mover - easily copy Document Templates between environments
- Role Documenter - easily document which permissions a security role has
- Ribbon Workbench - allows you to modify the ribbon on entity view, subgrid view, and form view
Download XRM Toolbox
You can download the latest release by visiting the XRM Toolbox site
The file that gets downloaded is a zip file
Unzip the file to your desired location
Navigate to the newly unzipped folder, you should have an executable file named XRMToolbox.exe

Double click to run the file
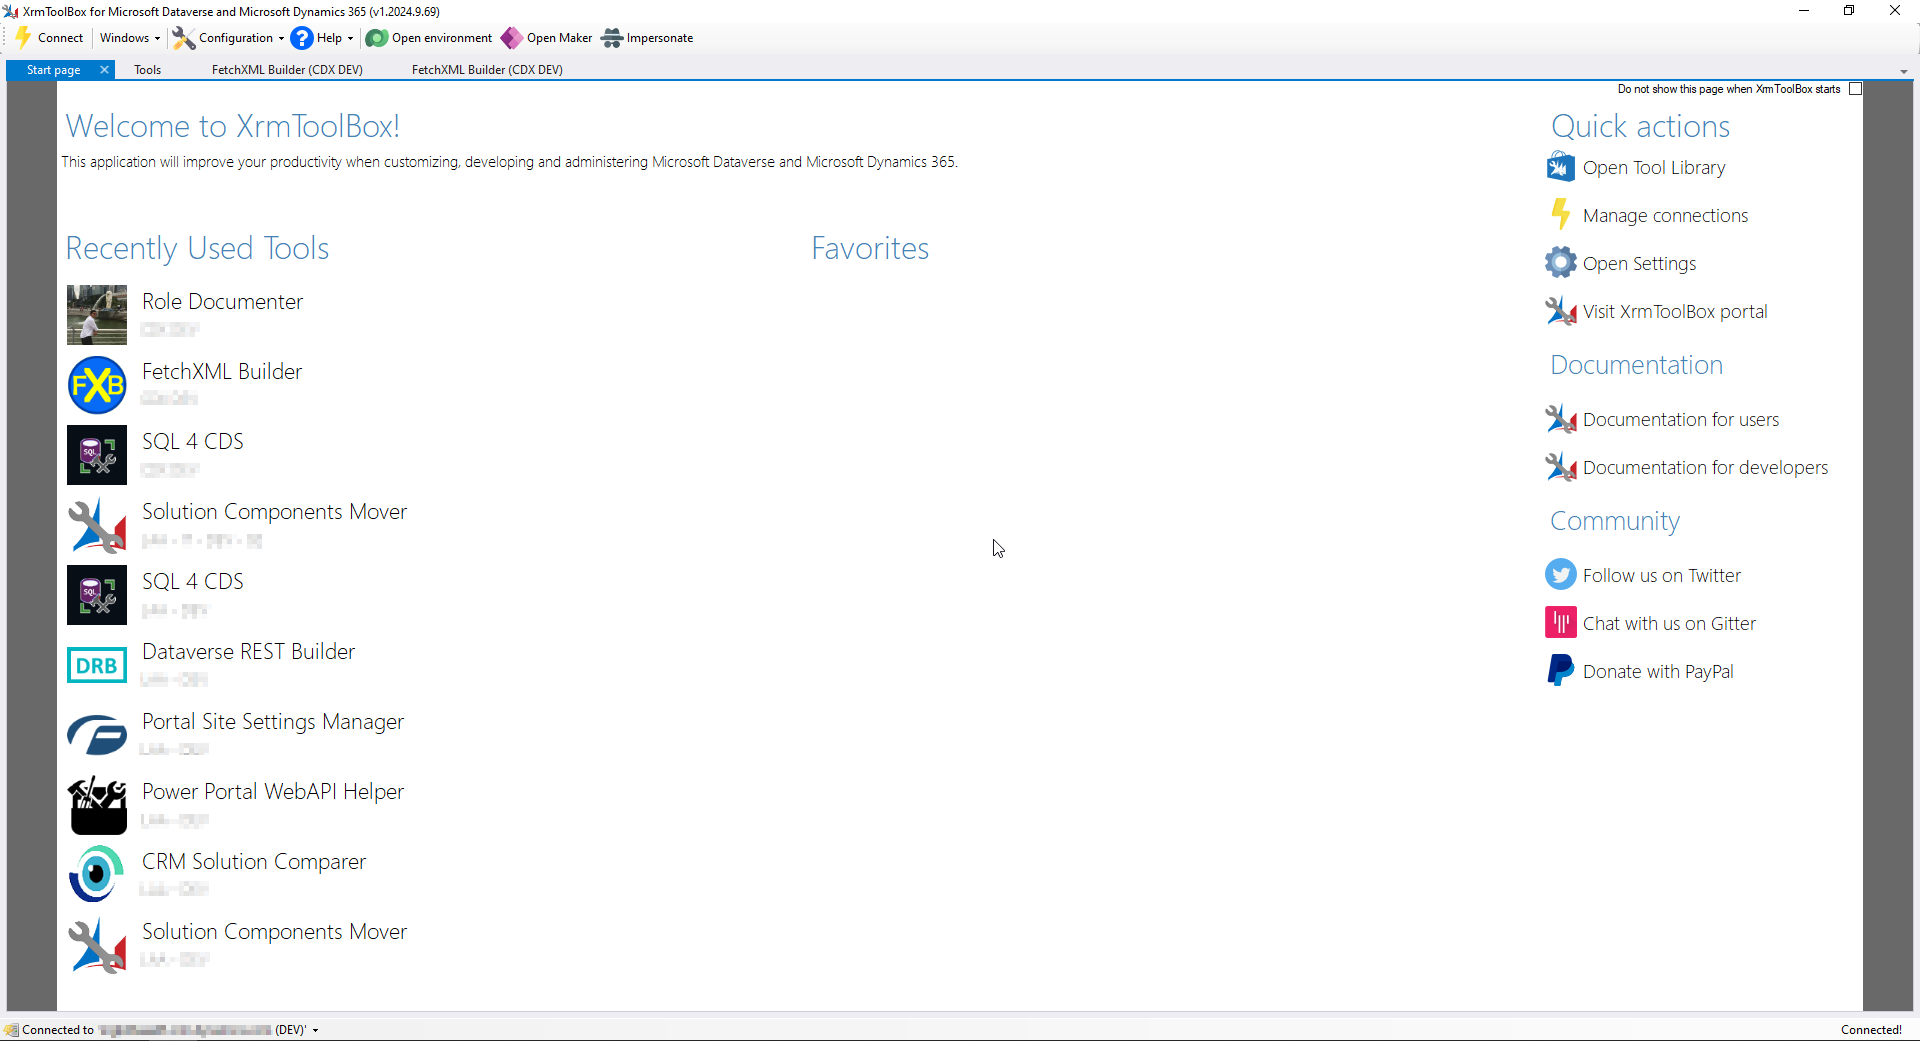
XRM Toolbox should open
Create Your First Connection
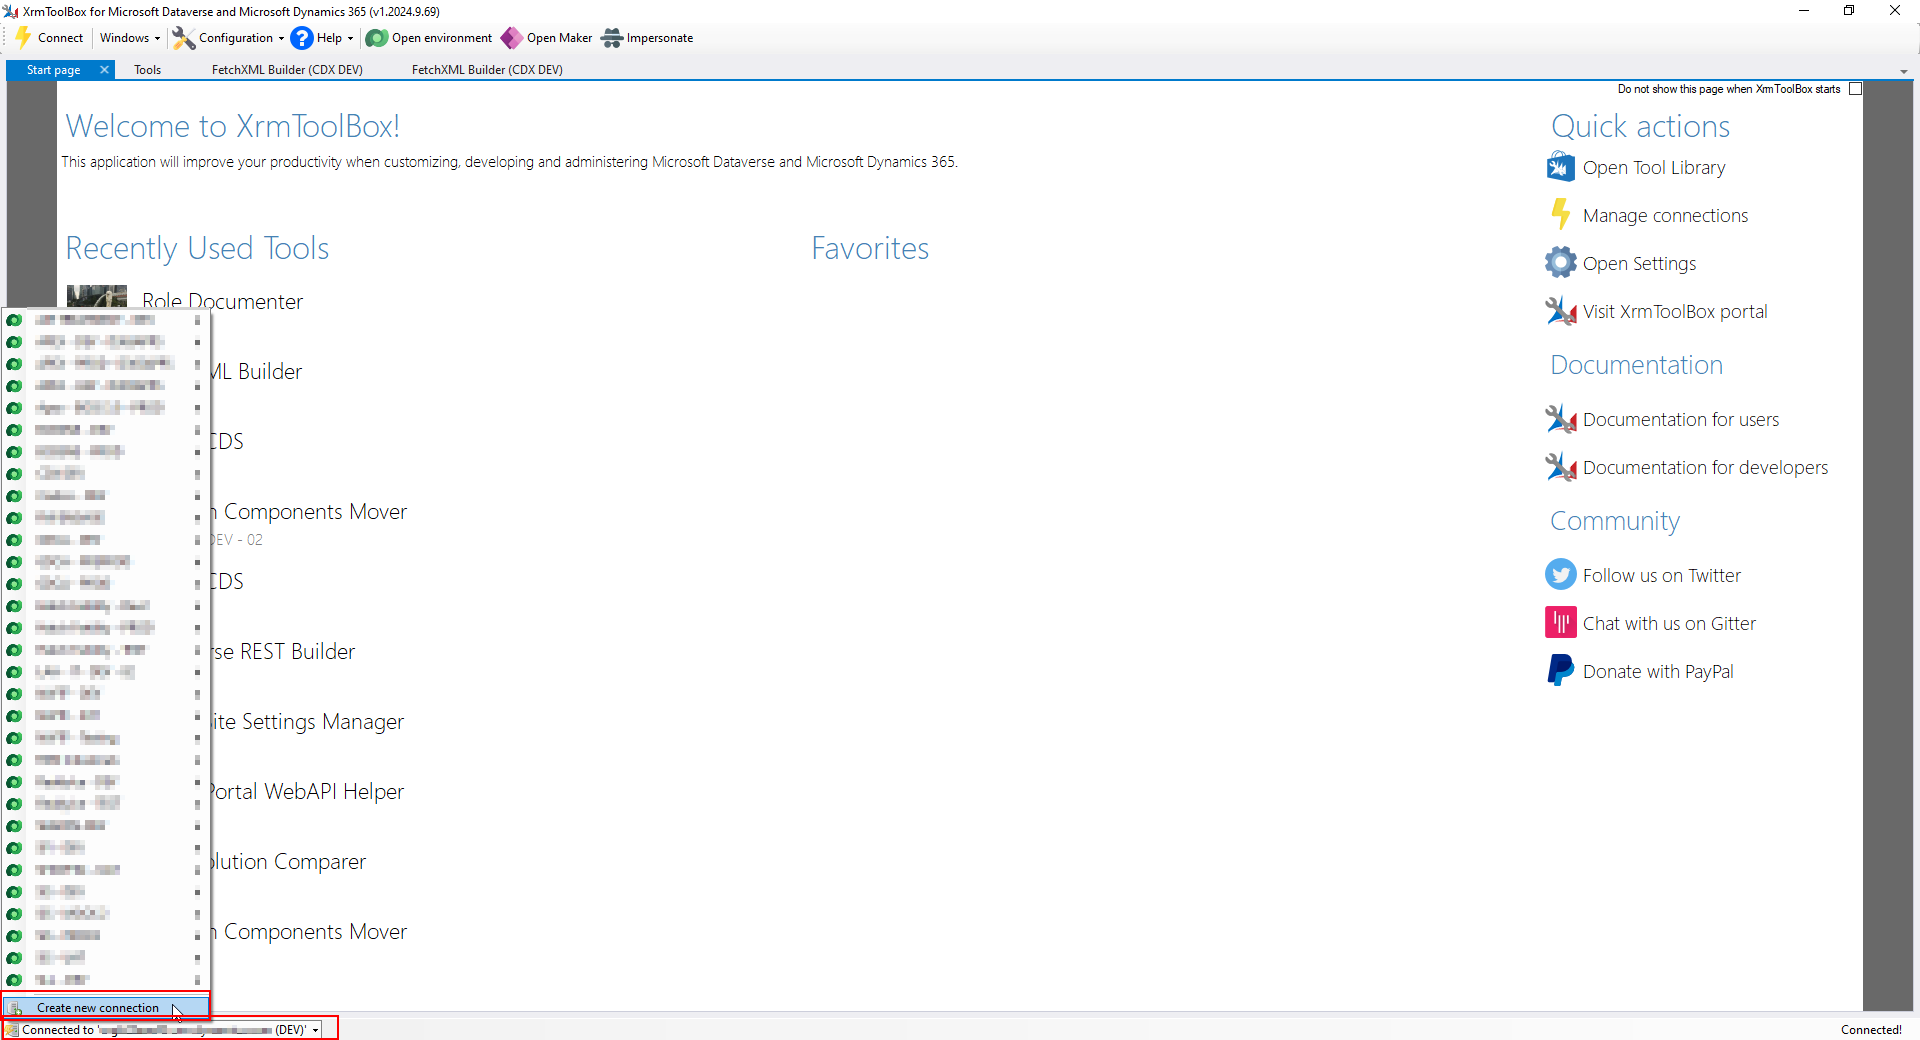
In the bottom left, click the Connections menu, then select Create New Connection
The Connection Methods window will open providing several ways to connect to your Dataverse instance
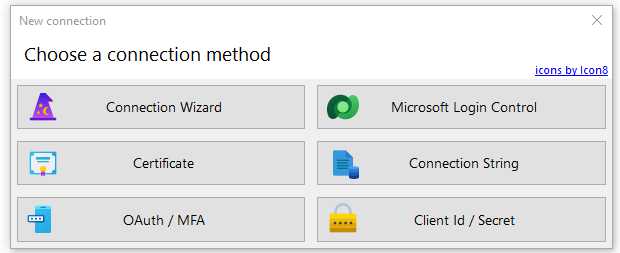
The simplest way is to use the Connection Wizard or if you would prefer to use a Service Principal you can create an Application Registration in the Azure Portal and use the Client Id & Secret to authenticate instead.
For now, click the Connection Wizard button
Enter the Base URL for your Dataverse instance in the Environment URL field and ensure you uncheck the Use Your Current Credentials checkbox
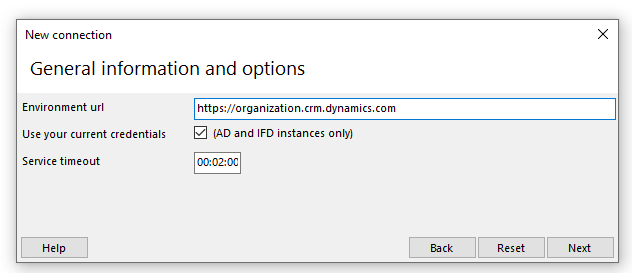
Click Next

Enter your Username (your email address) and Password that you use to sign-in to your Dataverse instance. For ease of use, you can choose to save your credentials by checking the box before clicking Next.
Assuming you have a proper security role in your Dataverse instance, the connection will be validated and saved. Now you can use any of the tools that XRM Toolbox has to offer in your connected environment.
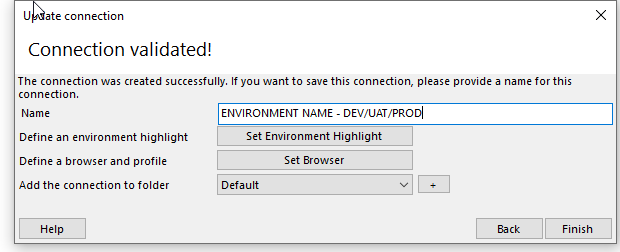
Give your new connection a proper name, I usually do {{ Organization Name }} - {{ DEV/UAT/PROD }} depending on which environment I am connecting to.
Now you are ready to install tools into XRM Toolbox and go wild.