
Word Templates in Dynamics 365 CE
Here is a guide on how to create Word Templates for use on the Power Platform (including repeating sections)


Intro
Recently I had a colleague reach out asking for some help putting together a Word Template that contained a repeating section. Sure, there are plenty of articles out there on how to do this, but what they found was that many of the articles were incorrect, outdated, or didn't provide all of the steps necessary to get the template to generate properly. In this post I will walk through downloading a Word template from within a model-driven app, modifying the template, uploading the template into our system, and finally generating the template using data from within Dataverse.
Download the Template
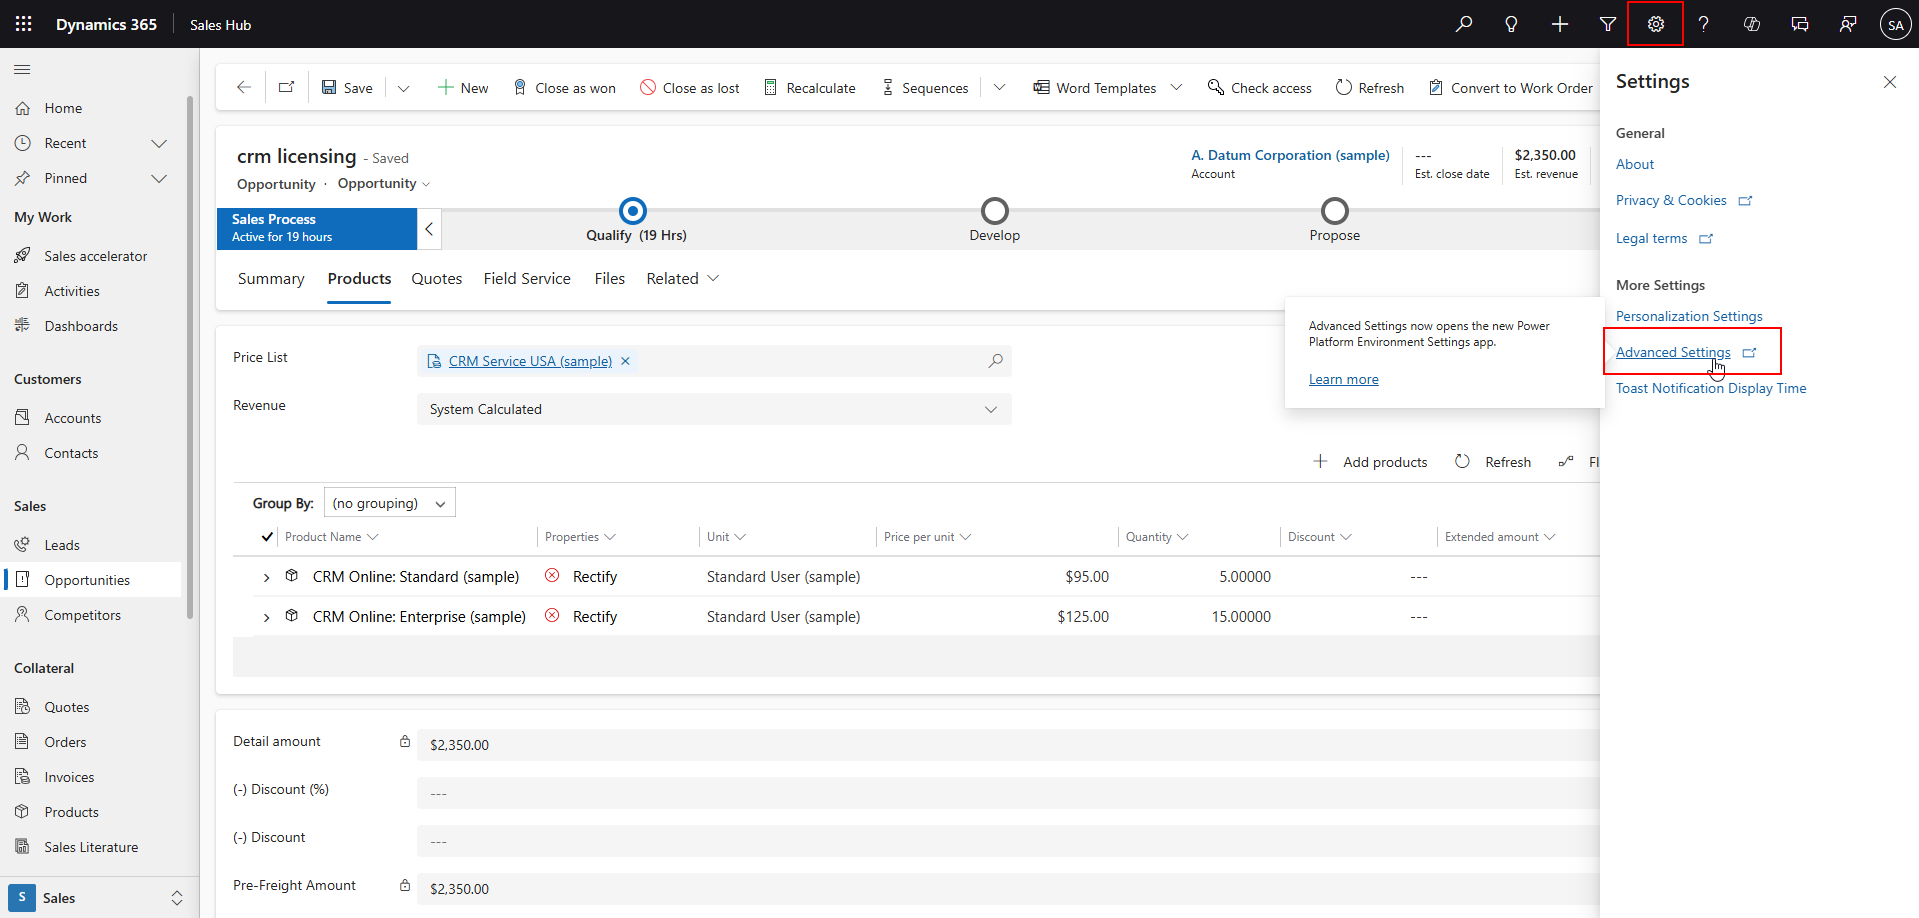
Let's get started - first thing is first - we have to download a Word Template from the system that includes references to the attributes on the entity as well as any relationships we will require in our template. To do this we need to open up Advanced Settings.
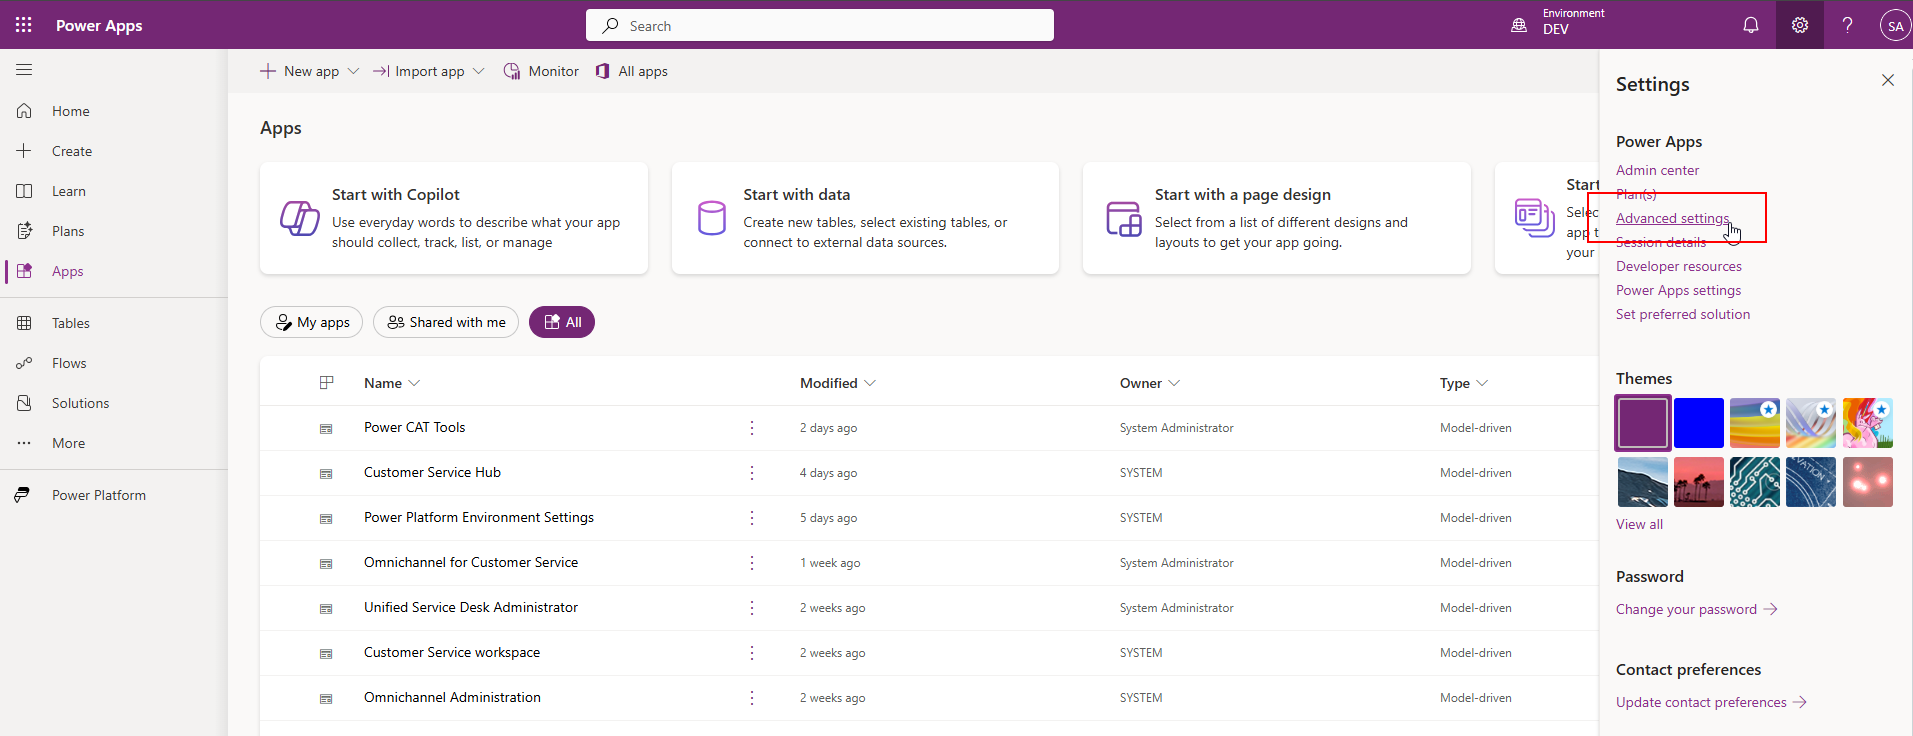
Click the gear icon in the top right of the screen, then select the Advanced Settings link:
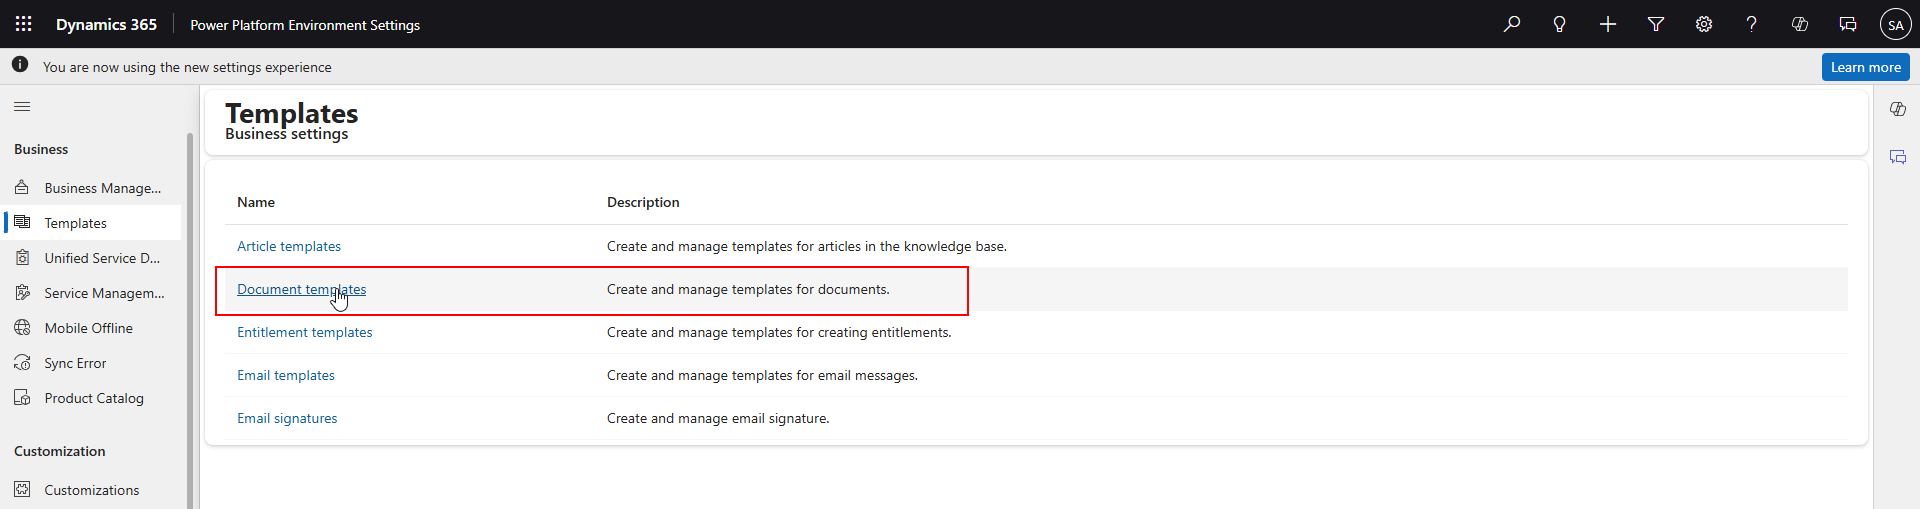
A new tab will open with the modern Power Platform Environment Settings app.
Under the Business section you will find a menu item labeled "Templates":

Select Document Templates:
From this screen we should be able to download a base Word Template with the references we need. However, what we find is that only the Excel Template option is available (at the time of writing).
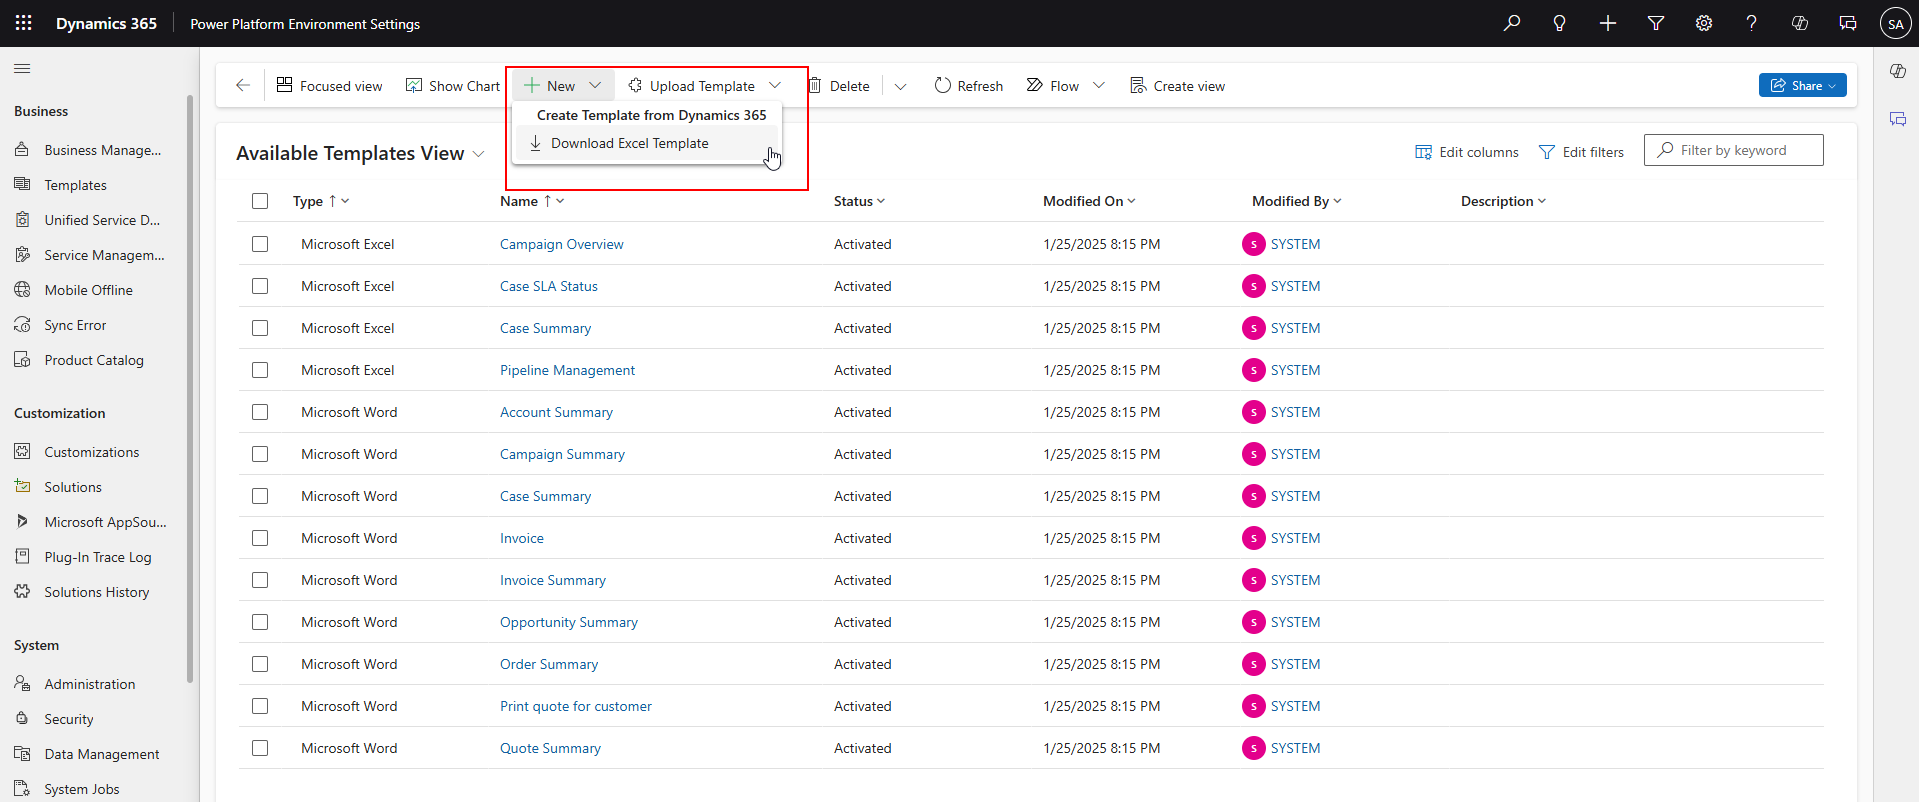
It seems Microsoft hasn't achieved full parity between the new experience and the classic experience.

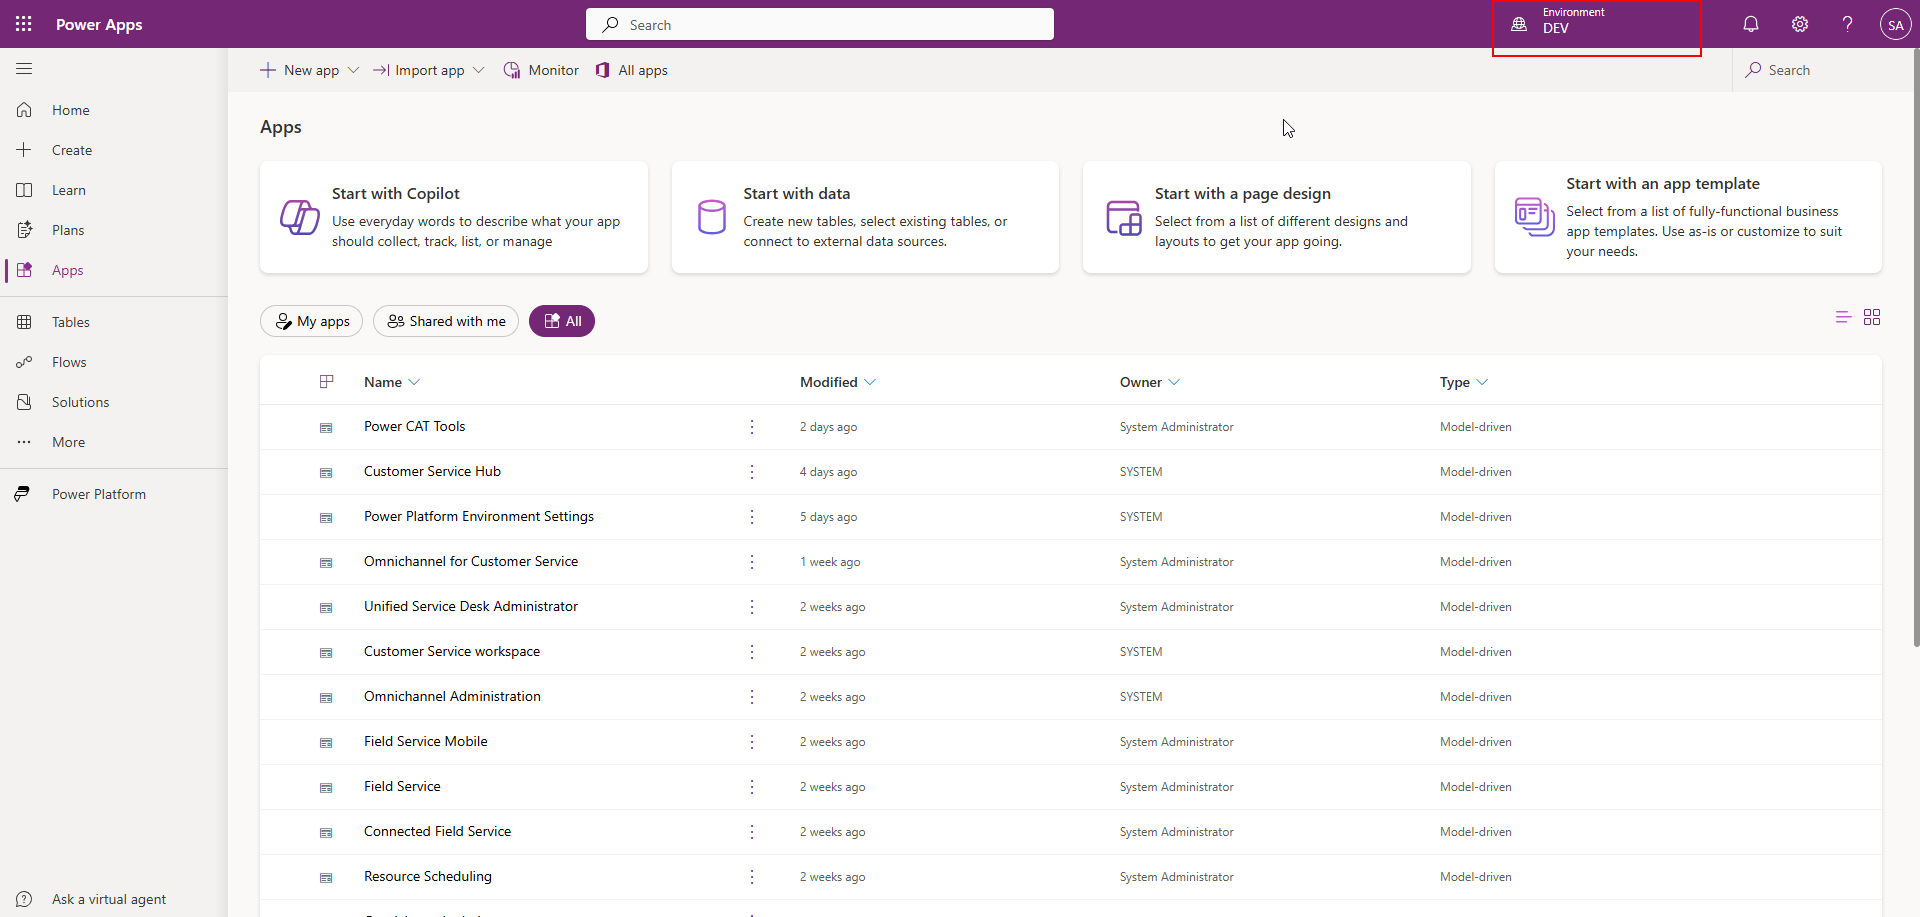
To work around this, let's visit the maker portal. Once the page is loaded, ensure you are in the correct environment (always, always, always)!
Alright, great, we have validated we are in the correct environment. Now select the gear icon in the top right of the screen, then select the Advanced Settings link:
This should open the classic Advanced Settings experience.
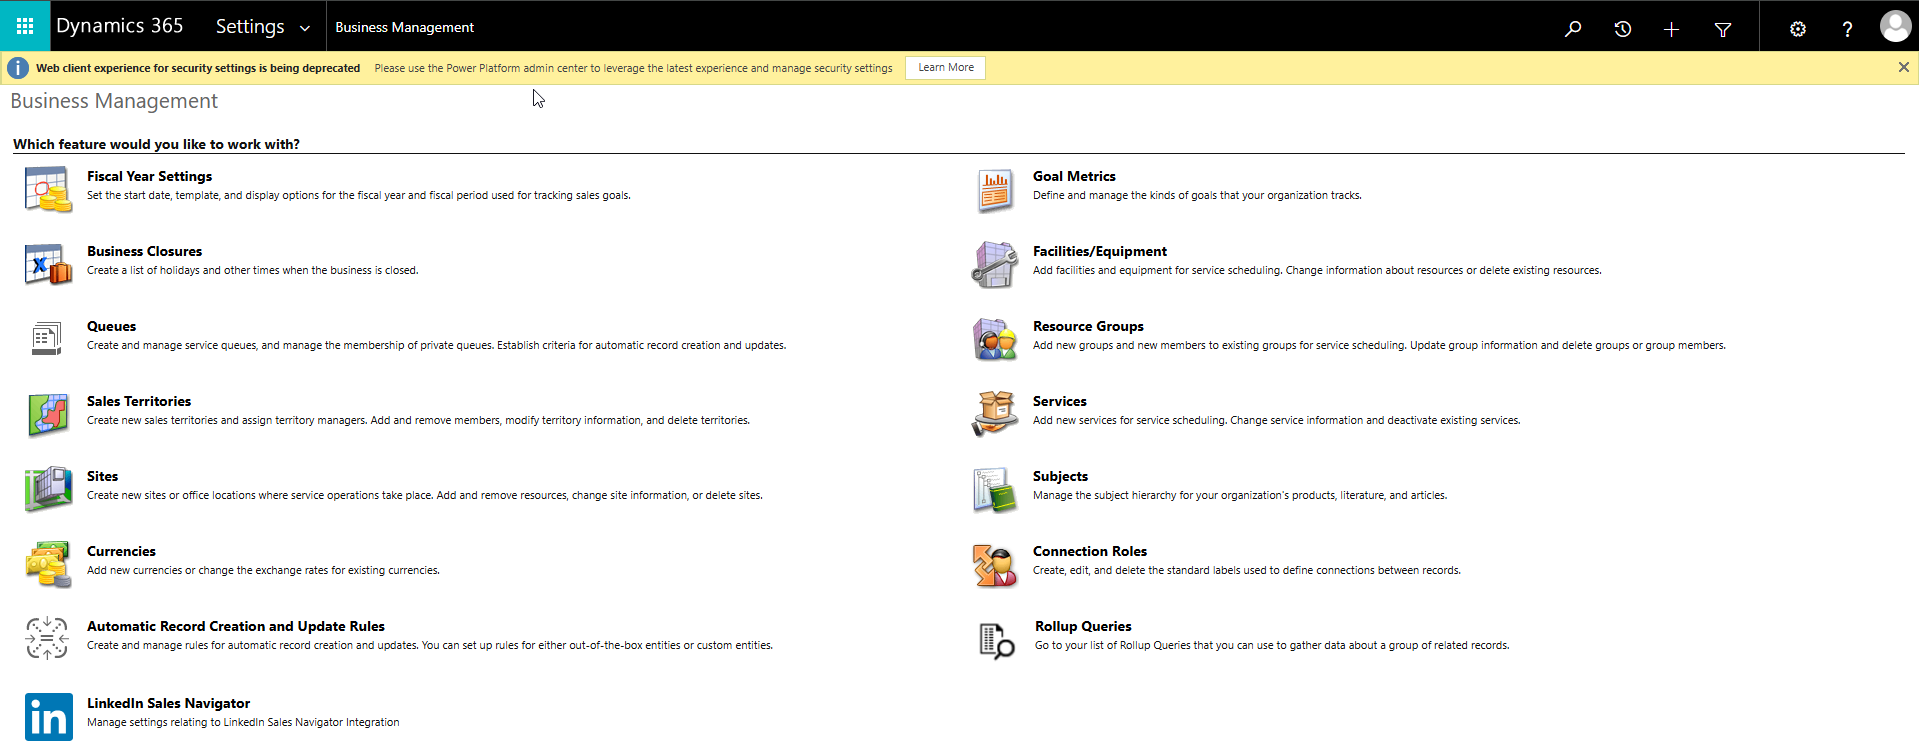
Click the down arrow next to Settings in the ribbon. In the drop down menu that appears, you should see "Templates" under the Business section. Select "Templates".
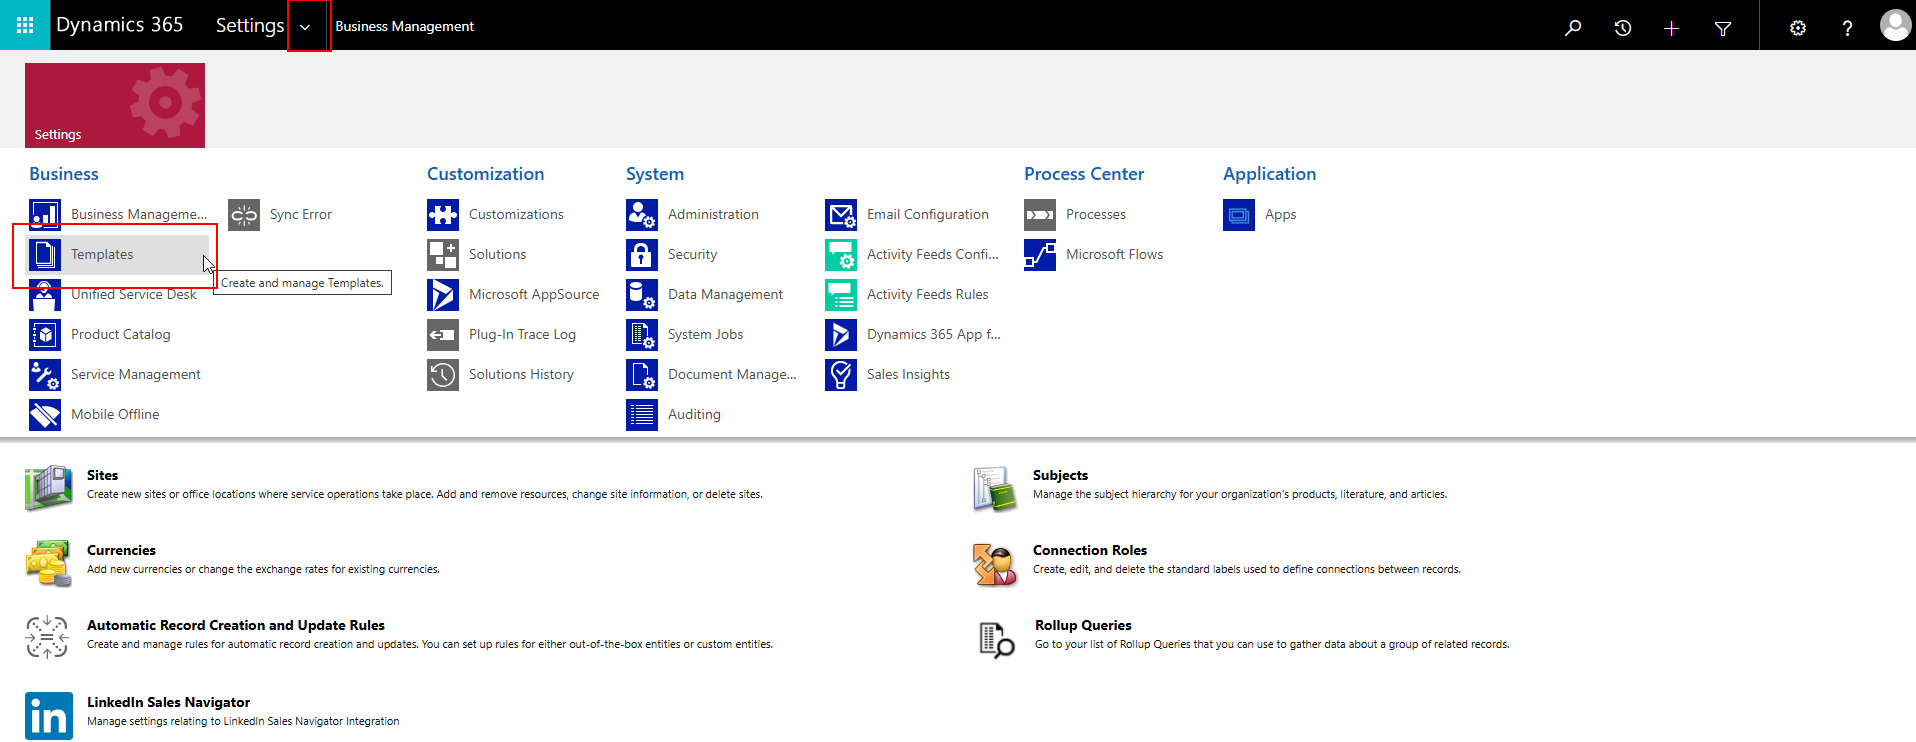
Several options are shown, select "Document Templates":

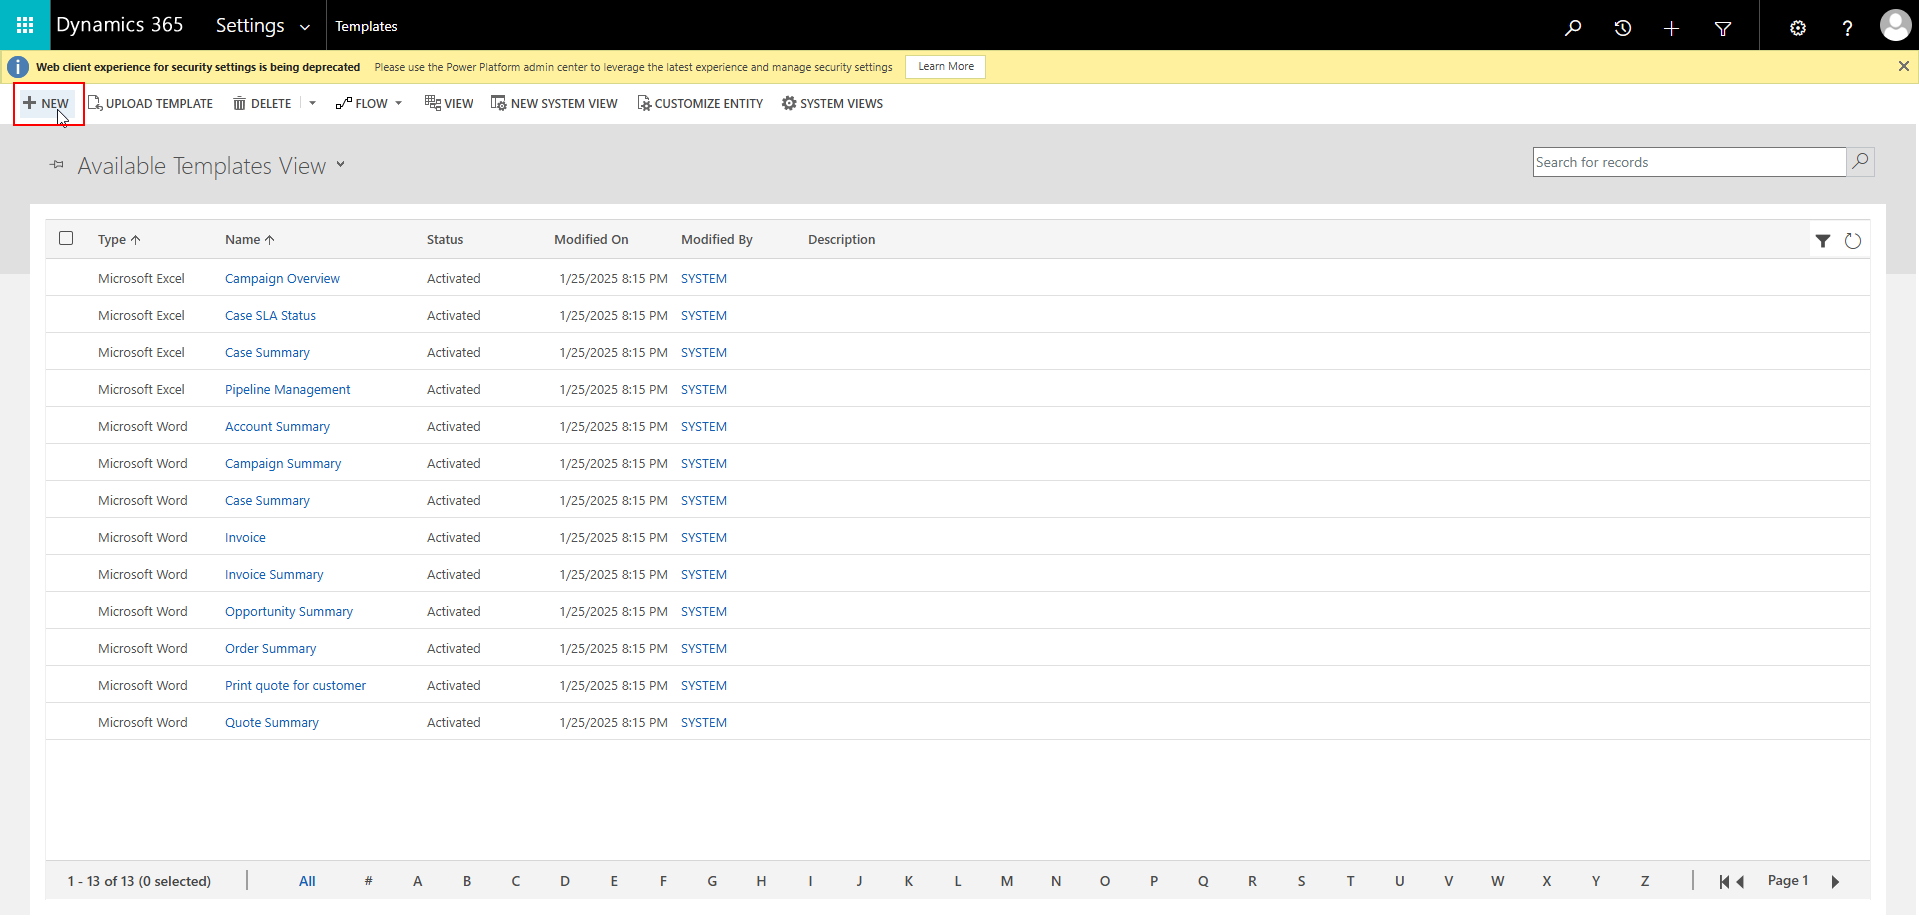
Now we can download our base Word Template. Click the +New button in the ribbon.
A dialog appears, select Word Template. Under the "Select data" section, we need to identify which entity we intend on running this Word Template from. Click the drop down and select "Opportunity":
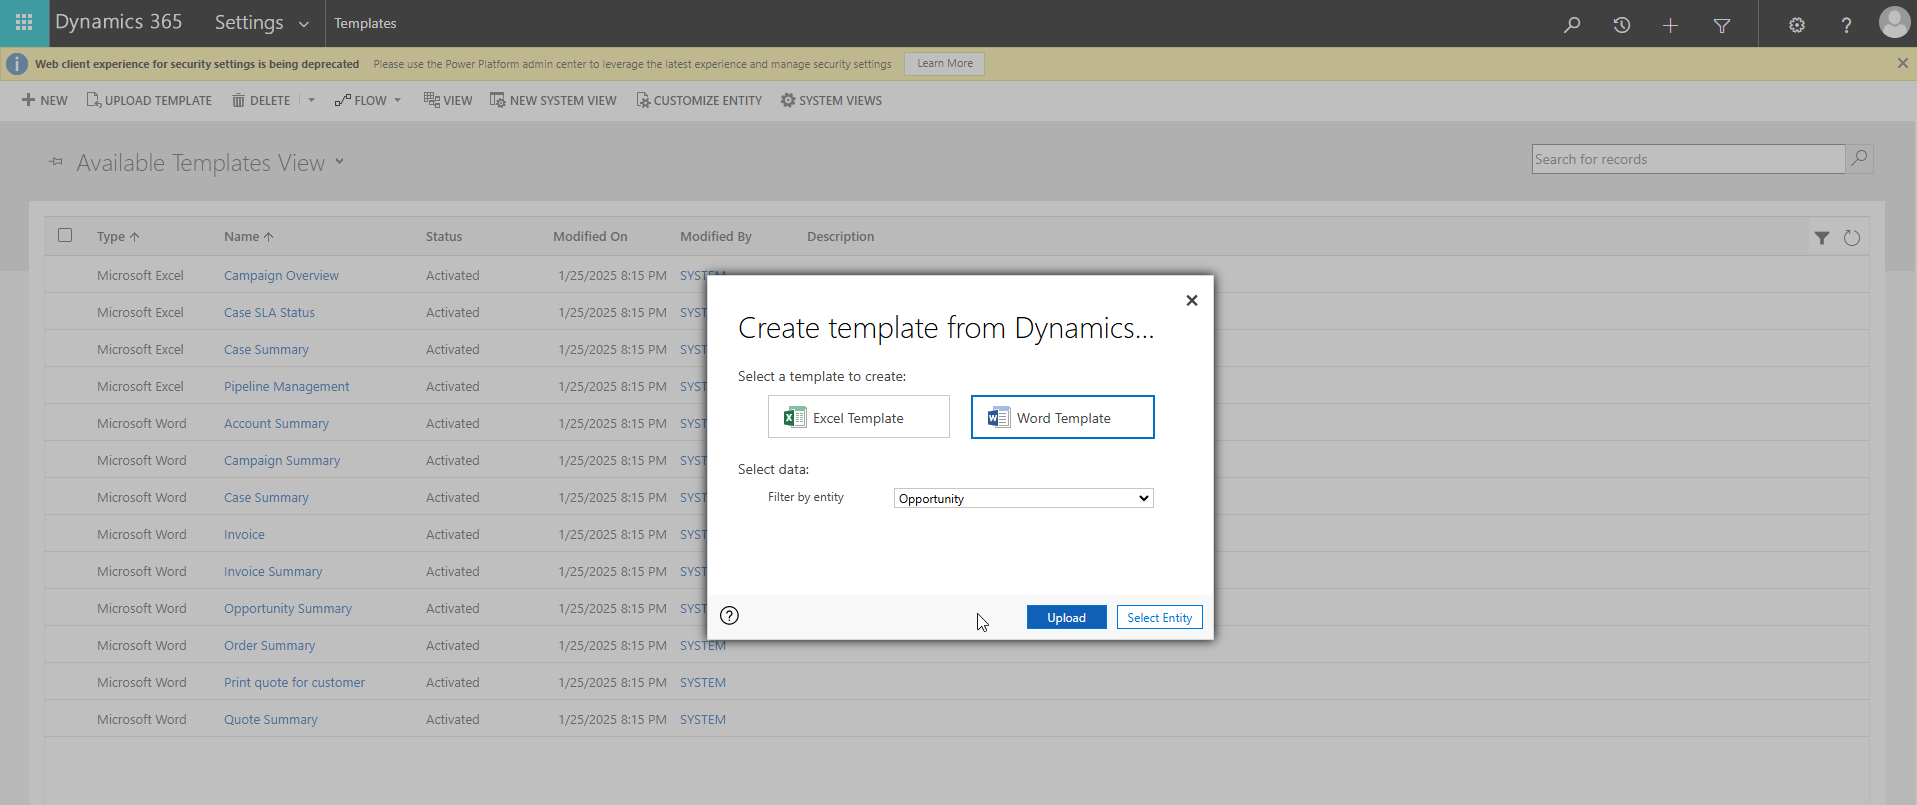
Next, click the "Select Entity" button. This will allow us to select any relationships that we will use to present data on our Word Template. In this example, we are using the Opportunity as our base entity, and we will select the 1:N relationship Opportunity Line. This will allow us to display attributes from the Opportunity Products sub-grid found on the Opportunity in our Word Template.
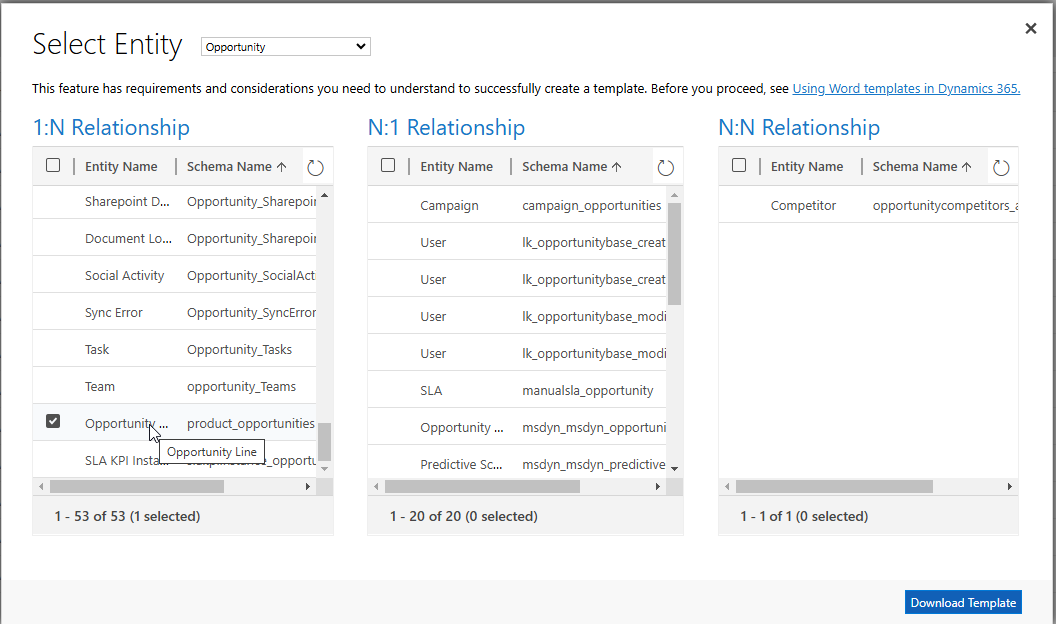
Click the blue "Download Template" button. The system will prompt you to select a location to download the file to. Once downloaded, open up the Word Template in Microsoft Word.
Enable Developer Tab in Microsoft Word
Now that we have our Word Template open, you will find that it is a blank canvas to begin creating our template.
We need to ensure that the Developer tab is enabled in Microsoft Word. If the developer tab is not already enabled in your instance of Word click File and select Options. The following menu appears:
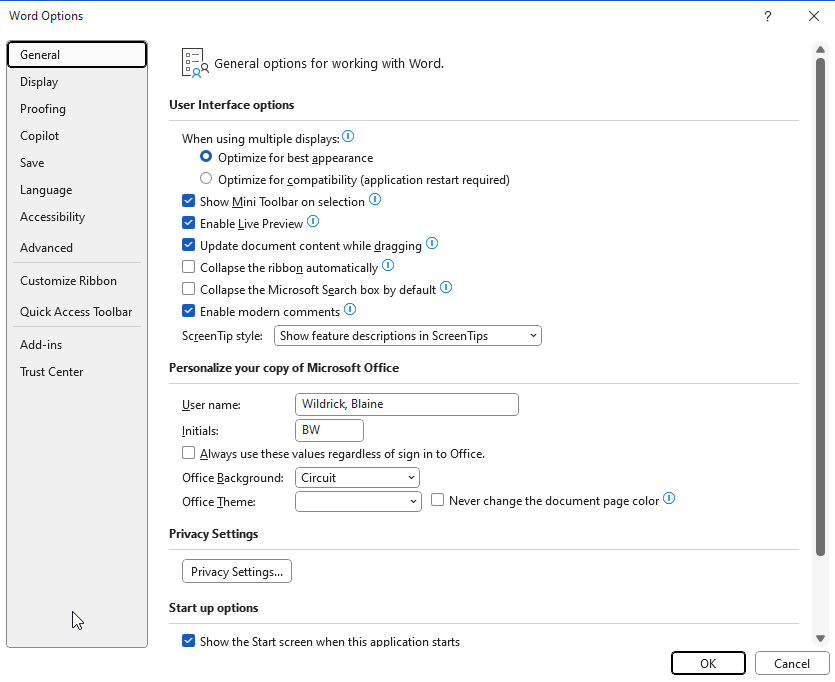
Select Customize Ribbon.

Locate the Developer item and check the box next to it.
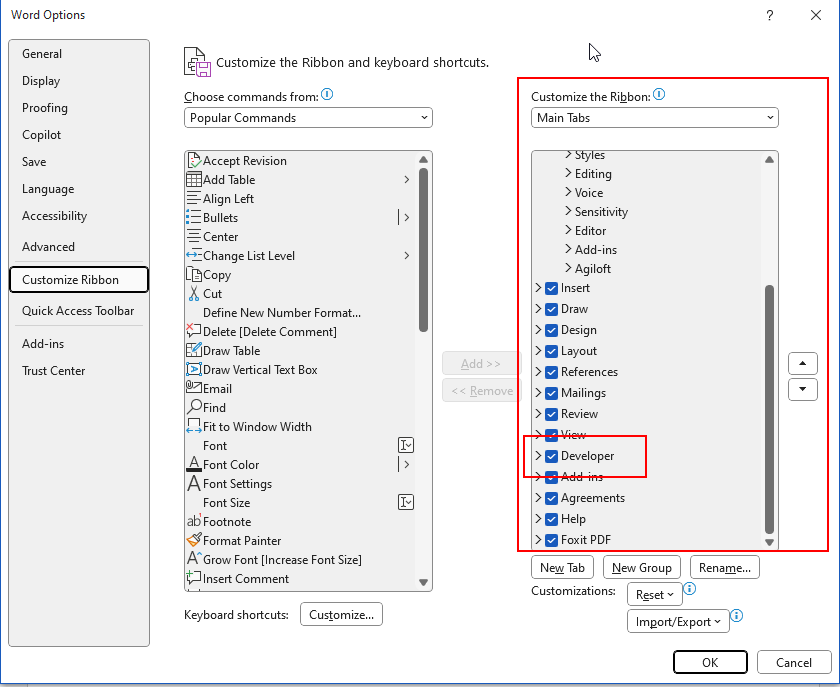
Click the OK button to accept changes. The Developer tab should now be showing in the ribbon.
Configure the Word Template
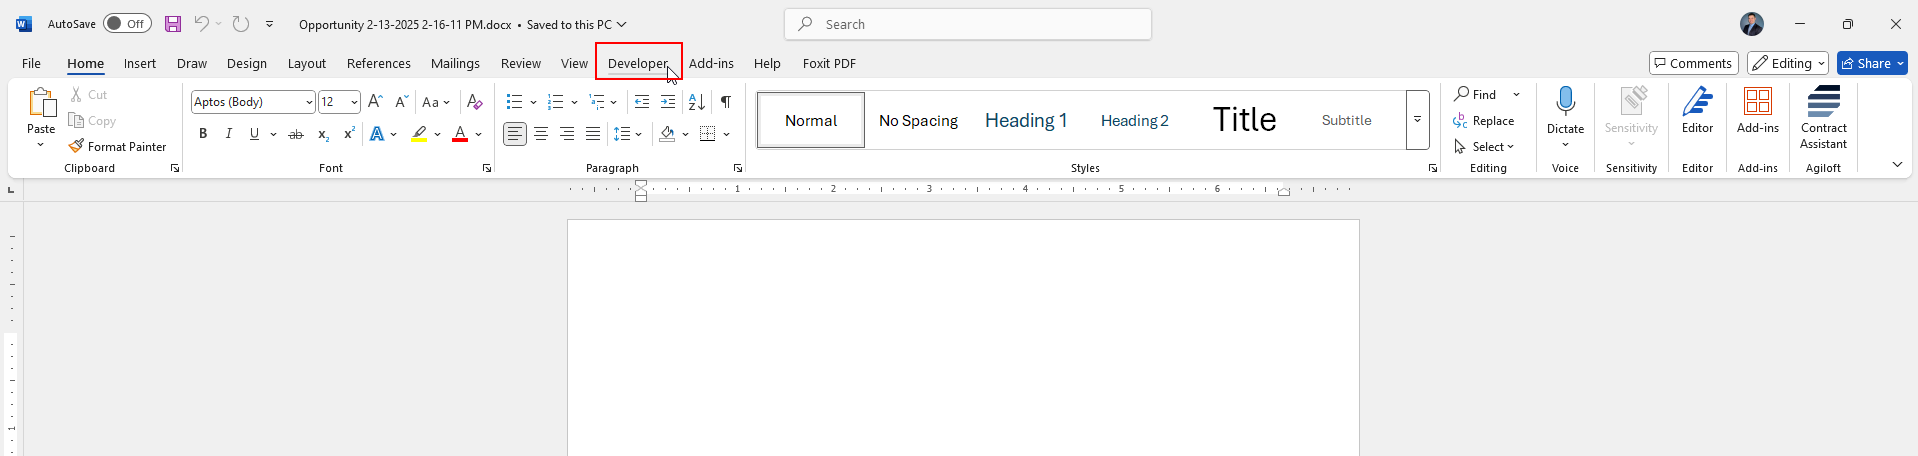
Now we can begin creating our template. Add a table to capture basic Opportunity information. Select the Developer tab.
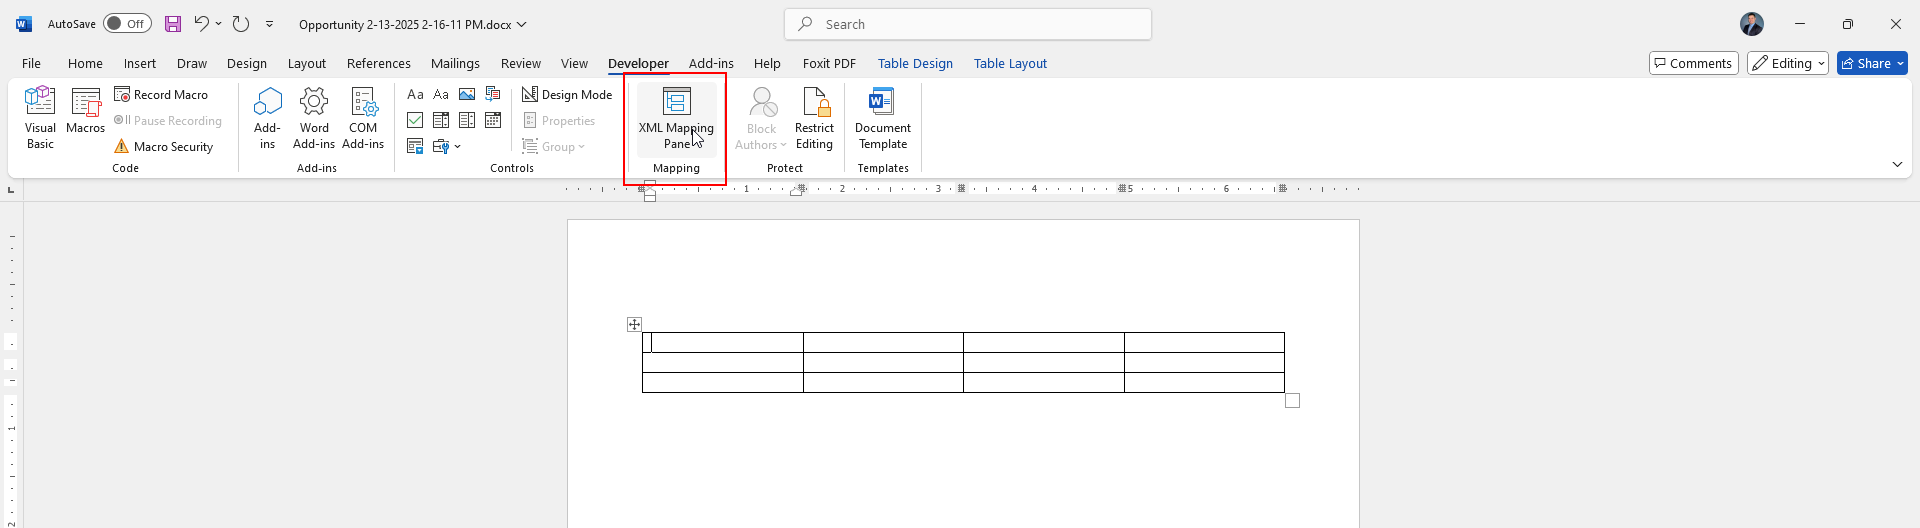
Click on the "XML Mapping" Pane button.
The XML Mapping Pane will open on the right side of the screen. Click the drop down menu for Custom XML Part. Locate and select the Opportunity XML Part from the menu:
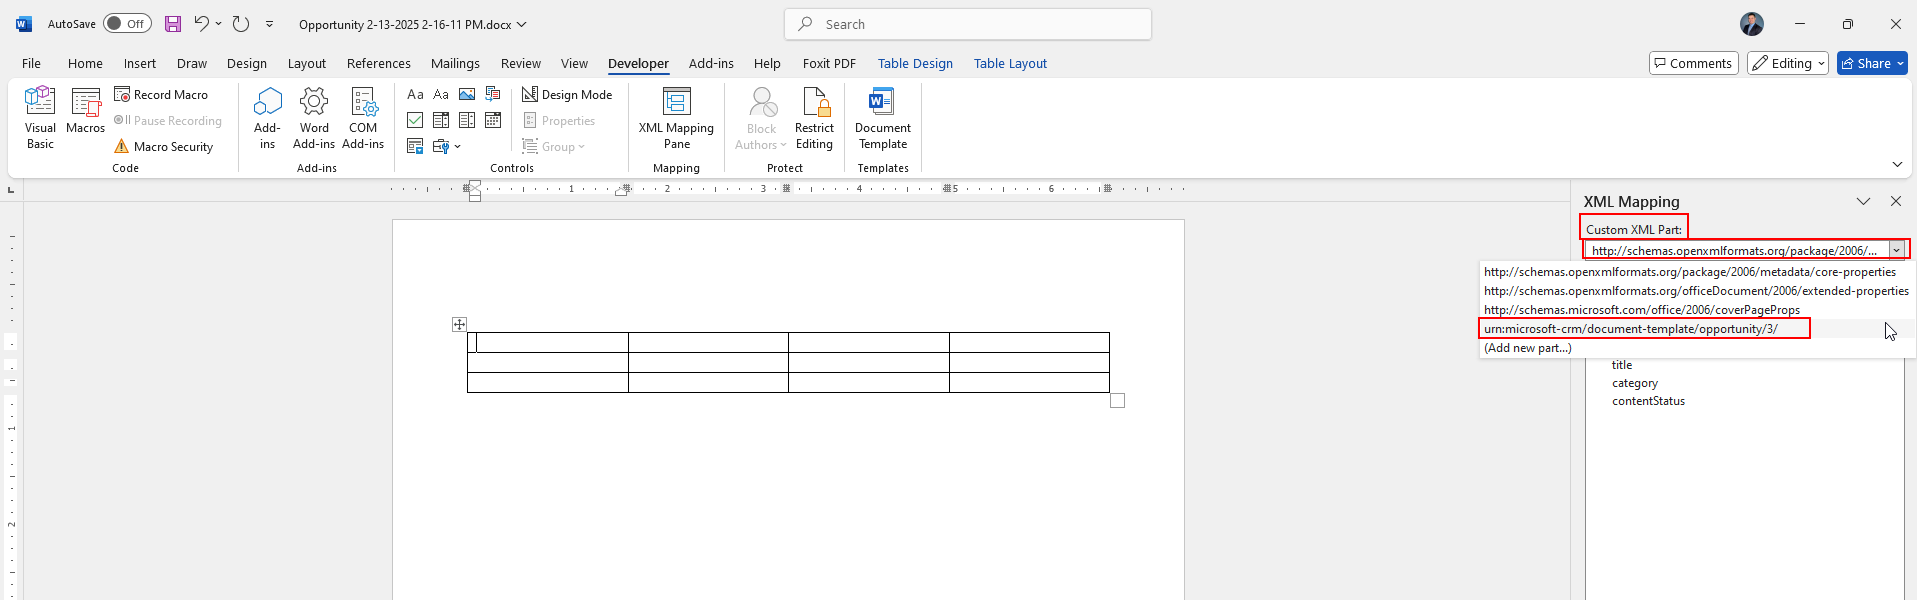
The XML Part components will now show the attributes of the Opportunity and any attributes of the relationship to Opportunity Products. Simply expand the arrow next to "opportunity" to view the attributes and relationships.
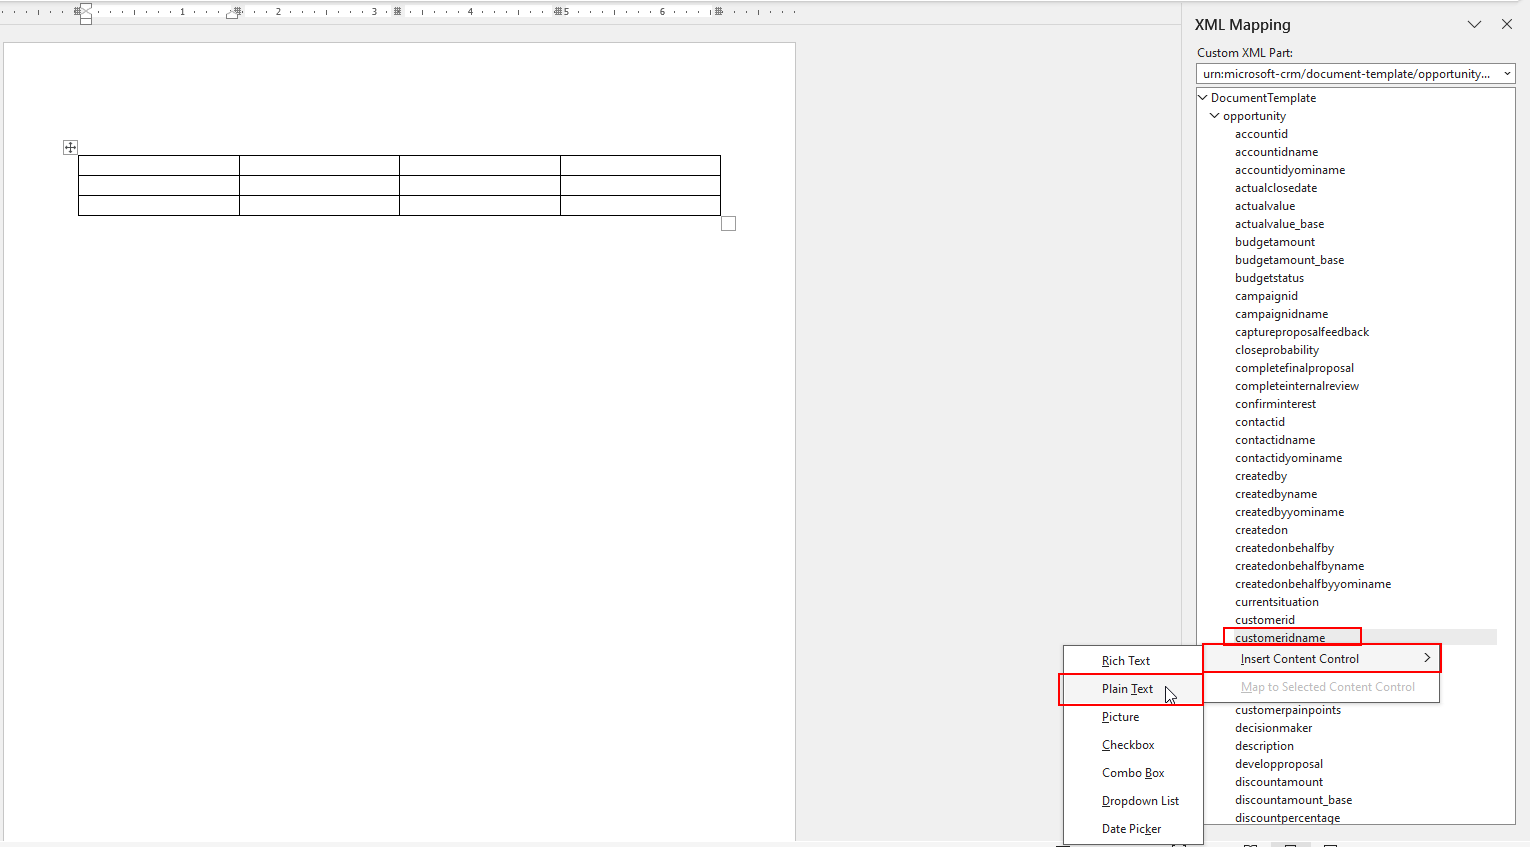
Move your cursor into one of the cells of the table. Insert the Customer Name by locating the attribute in the XML Mapping Pane, right clicking the attribute, and clicking Insert Content Control:
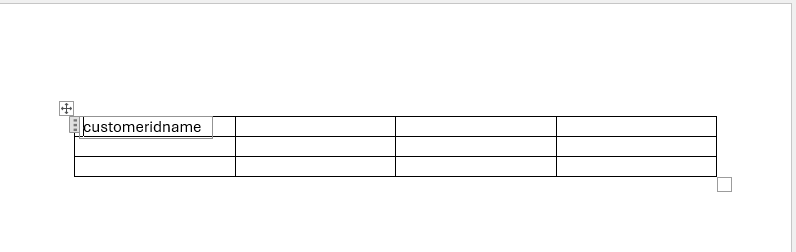
Once the attribute is inserted into the table, it should appear as such:
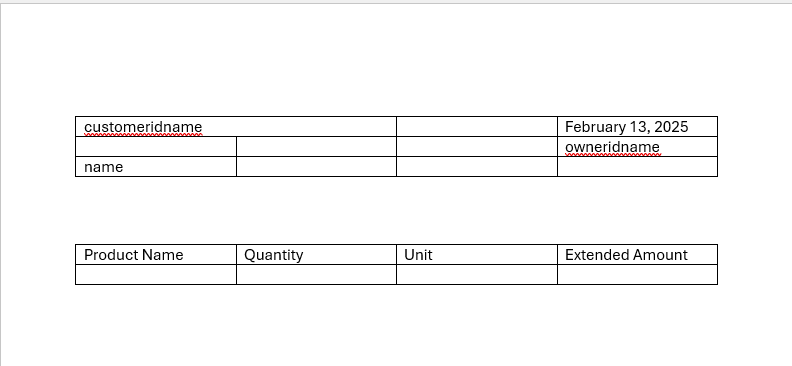
I am going to add a couple of extra attributes to this table before we add a section to display the Opportunity Products. The steps are the same as they were for adding Customer Name.

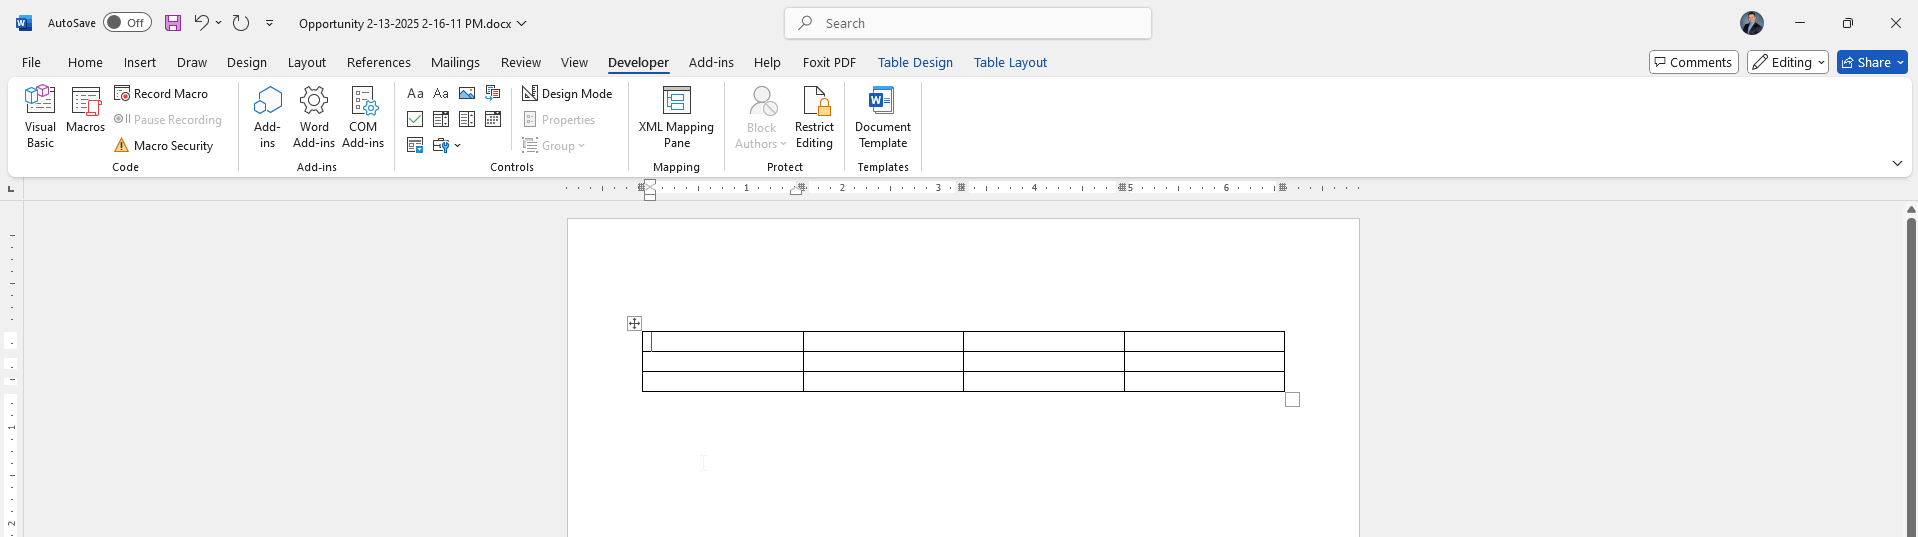
Okay, now we are ready to add a table of the Opportunity Products to our template. Add another table below the existing table. Make this table 4x2. We will treat the first row as the header of the table. Enter headings for each column of the table:
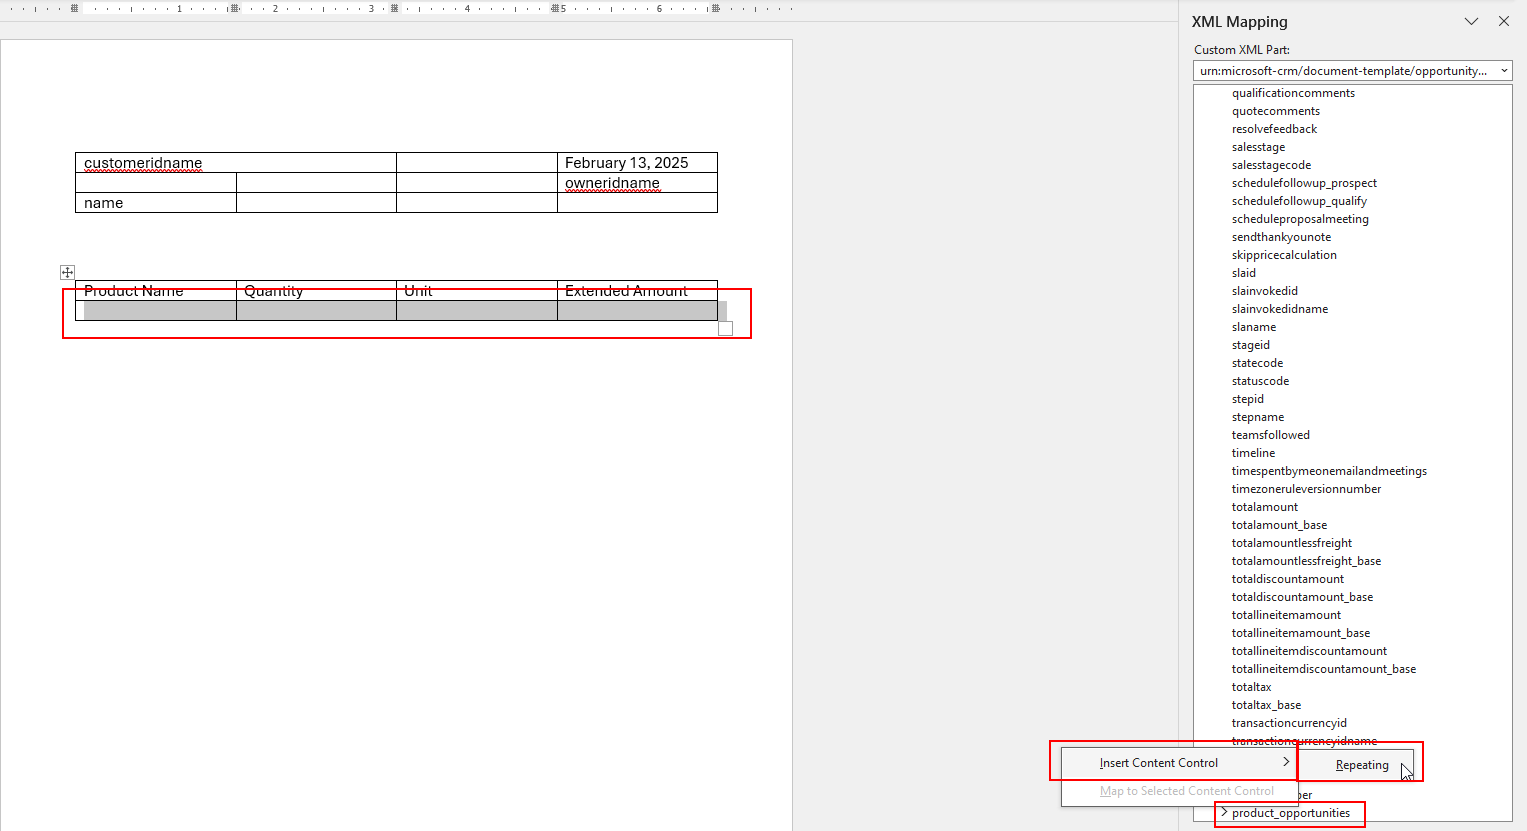
In order to get our repeating section inserted into our products table we need to select the entire row, then find the relationship in the XML Mapping Pane, right click the relationship, select Insert Content Control, then select Repeating.
Now that we have added several components to our template, it can be a little difficult to understand where our dynamic content has been added. To make it a bit easier, click the Design Mode button in the ribbon:
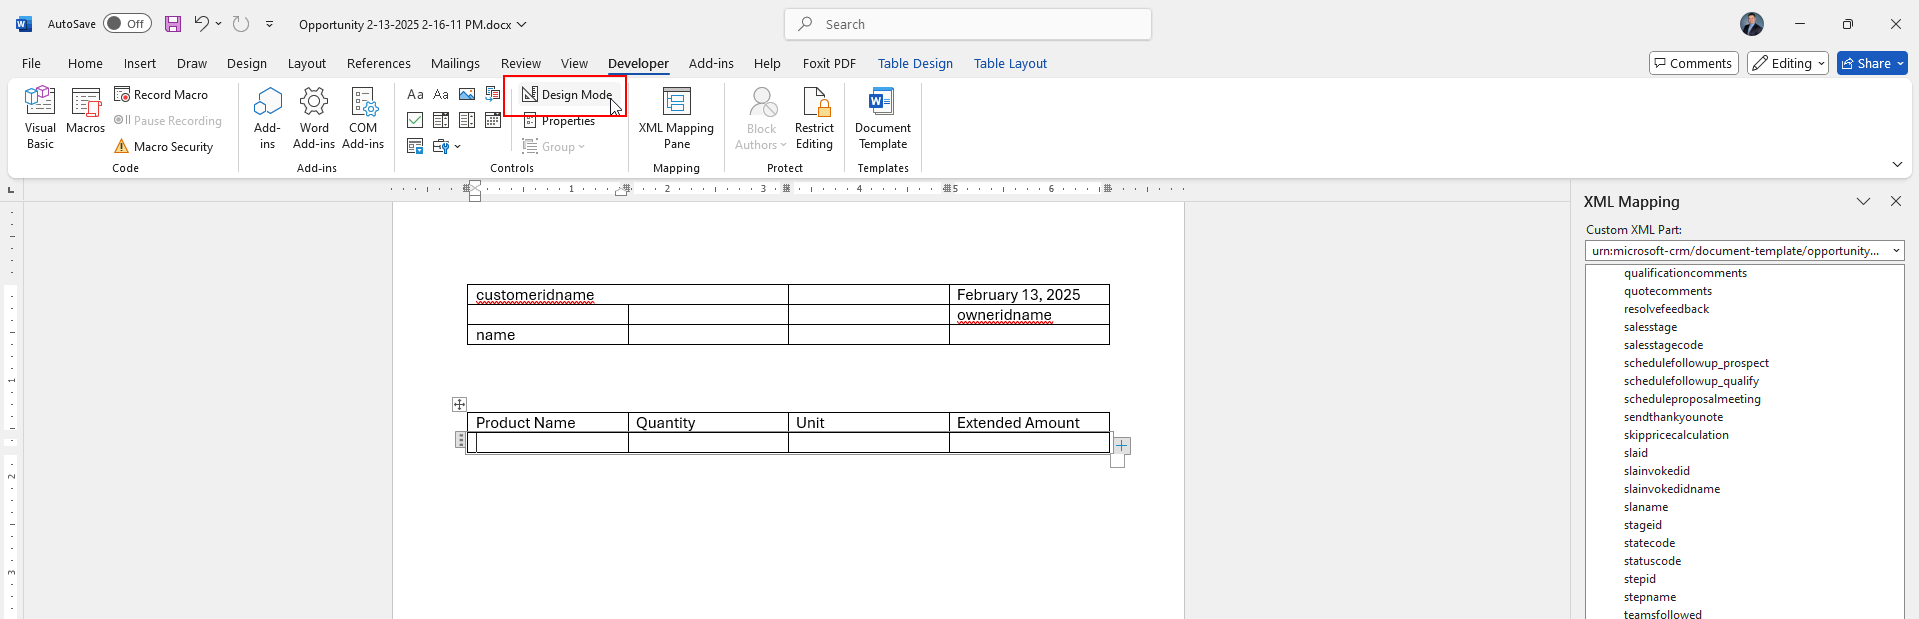
The resulting view is as follows:
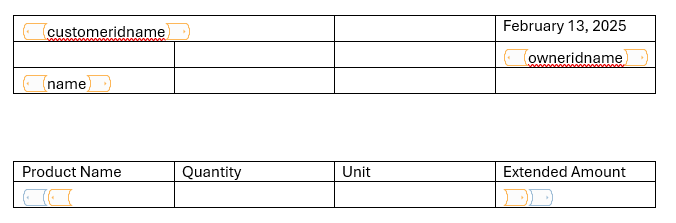
Alright, that's better. Now we can see where we have added content. Let's add the Product Name, Quantity, Unit, and Extended Amount to the repeating table. These attributes can be found by expanding the relationship in the XML Mapping Pane. Click the arrow next to "product_opportunities" to see all of the attributes. Repeat the process of inserting the content control for each attribute that needs to be added. When finished, it should look something like this:

Save the Word document. Now its time to upload the template back into our system to test our template!
Upload the Configured Word Template
Navigate back to the classic Advanced Settings experience. Click the "Upload Template" button.

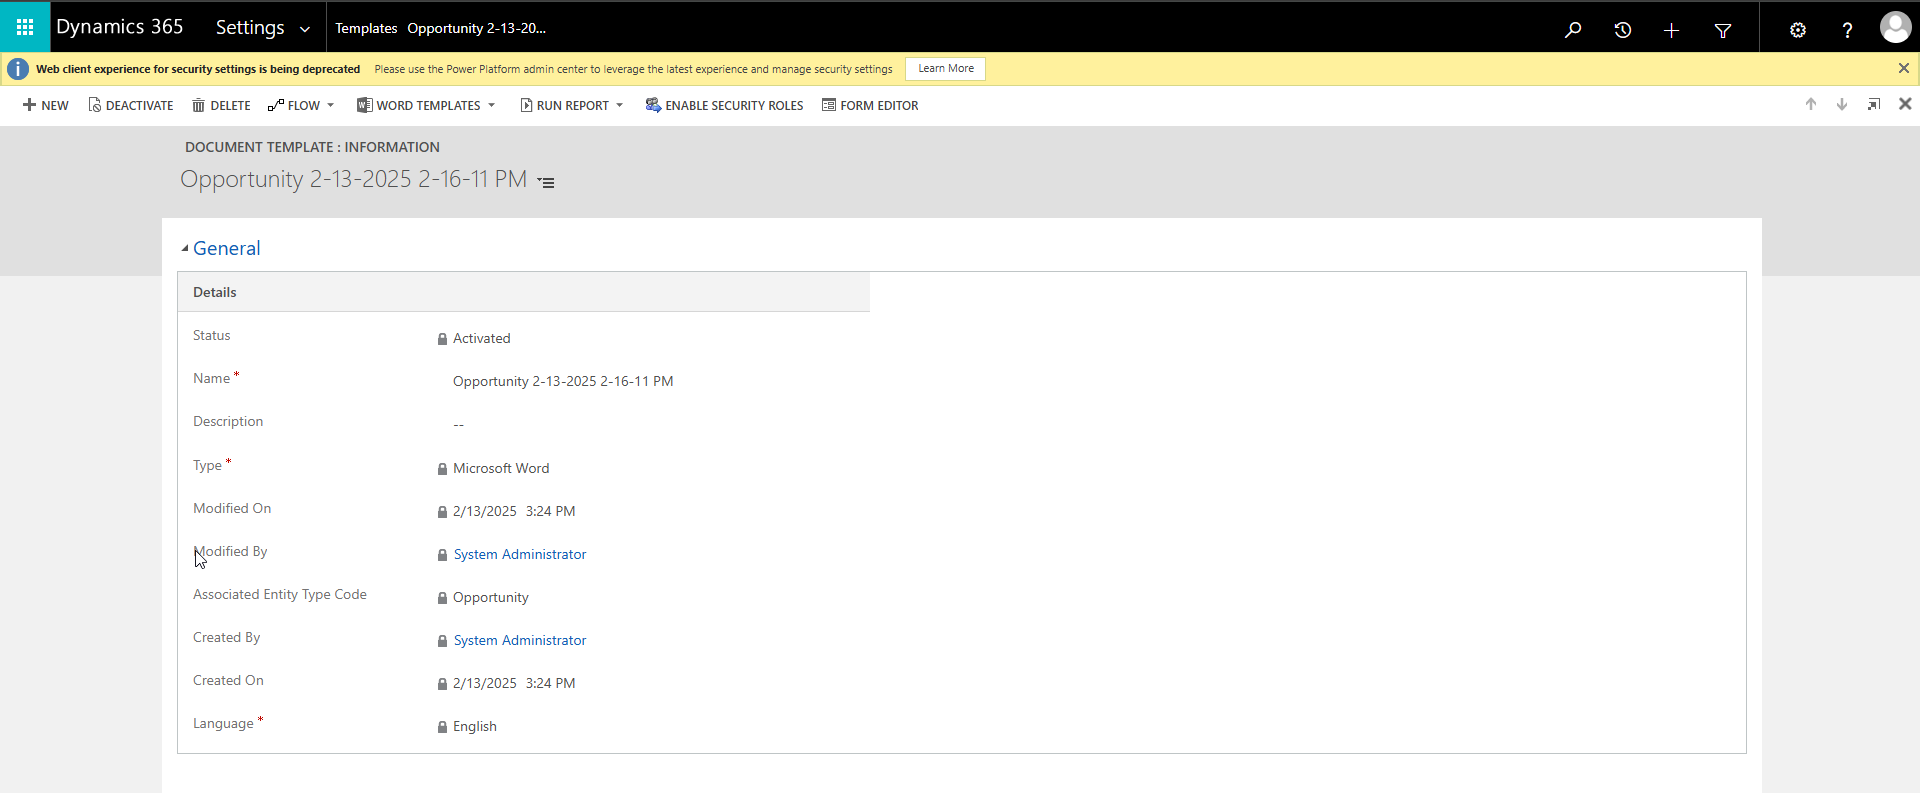
A dialog appears. Click the "browse" link to locate the file on your machine then click the "Upload" button. The resulting screen should appear as such:
Test & Generate a Document
Now let's test our template. Open the Sales Hub and navigate to a record on the Opportunity entity. Add a couple Opportunity Products. Once our Opportunity is created and Products are added, click the "Word Templates" button in the ribbon. An option should appear for our newly uploaded Word Template. Select the option for the newly created Word Template.
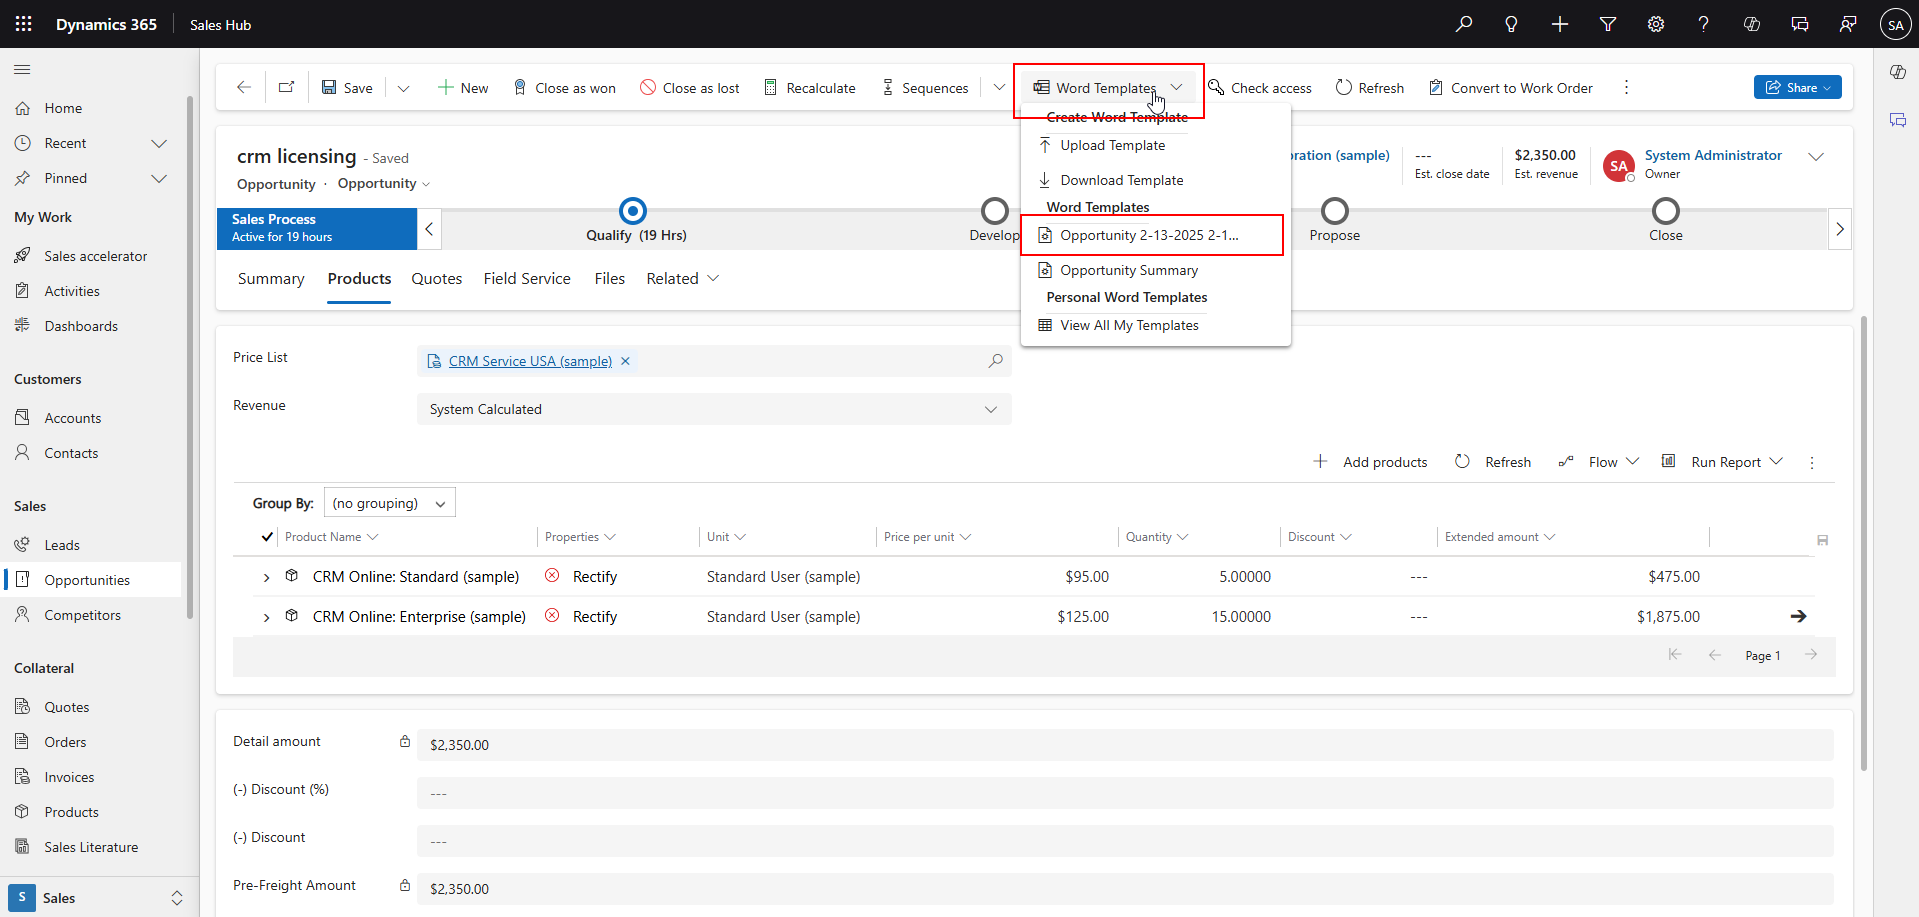
The document generates using the current record as context.
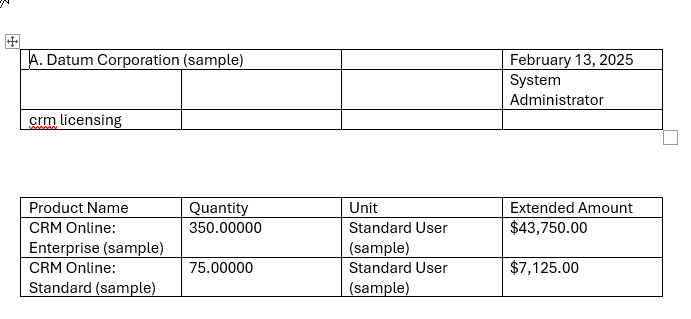
Now that we have validated that the base information is there, time can be spent adding company logos and making the template presentable. The goal of this walk through is to show how to add attributes and attributes of child records to repeating sections in Word Templates.
That is all there is to it - sure some setup is involved but creating and managing Word Templates in Dynamics is easy!